
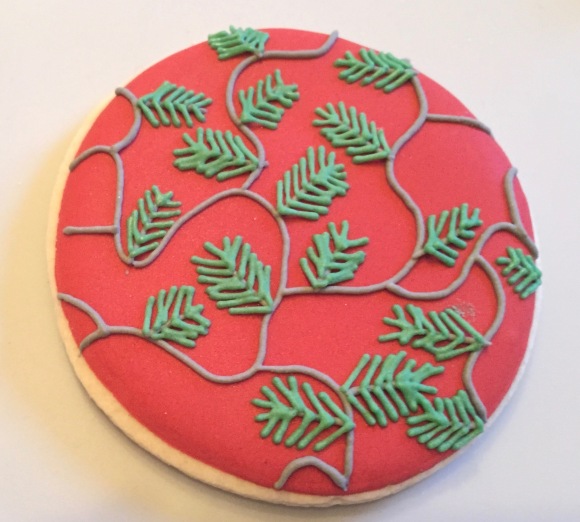
Here’s a secret that every winter cookier should know: piping pine/ coniferous needles is crazy easy. The end result looks like it requires way more skill and effort than it actually does. It’s like getting a really good deal– this design is the 40% off coupon code of cookies.
Start with a fully dried, flooded cookie.

Pipe darker lines onto the cookie, leaving enough space between the lines to pipe branches and needles. This is very important– there are a few spaces on this cookie where I clearly didn’t leave enough room and had to fudge a bit. The goal is to have a nice free-hand scribble with big gaps in between the lines.

Then, pipe lines extending off the scribble where there are significant gaps (these will form the stems for your needles).

Then, pipe parallel green lines on a diagonal off of the stems.

Continue doing that along one side of the stem and then proceed to the other side.


Continue piping along all of the stems. [You can see where I got too ambitious in the bottom right corner]
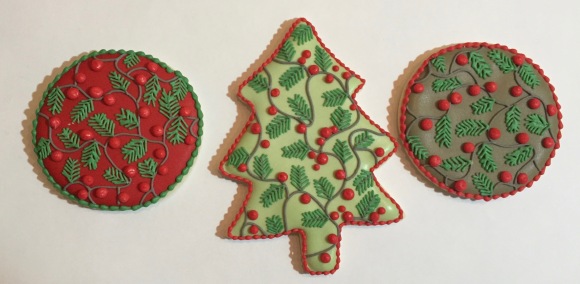
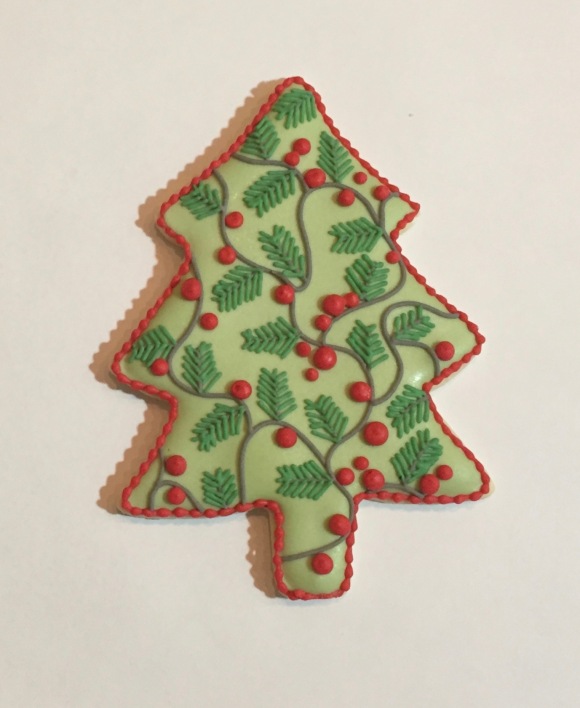
Then add red berries and a border for decoration.


Here are some other iterations of the same design– it is so easy and the result is really nice.
Oh, did you notice that my colors have mellowed out a bit? There will be more cookies from this color series coming soon! Here is a very tiny sneak preview of what I’m working on now:


Thanks for this tutorial.
You’re right, it’s simple, but it takes a talented designer to make it elegant. You’ve got the touch! What a lovely set you created using your technique.
LikeLike
[…] merely combining old patterns for an overall botanical effect. For example, you might recognize this design from a tutorial I posted last […]
LikeLike